Setting up a home gym alone can feel difficult when the floor is crowded and no toolbox is nearby. However, a practical workout space does not require expensive equipment or professional installation. With careful planning, many beginners can create a safe setup using adjustable gear, household surfaces, and clear instructions.
This guide explains How to assemble a home gym alone when you have no tools. It focuses on simple equipment, including resistance bands, foldable benches, yoga mats, and bodyweight stations. You will learn how to inspect parts, choose stable locations, and follow weight limits before exercising. A clear floor, strong wall, and non-slip mat can make a noticeable difference. Small details matter.
Safety comes first.
The seven tips are based on common home-fitness practices and real assembly challenges. For example, a resistance band may look secure but still need a careful check for cracks, weak anchors, or sharp edges. Product manuals and manufacturer instructions should remain your main authority. Not every tool-free product is truly effortless. Some frames may need two people, and forcing a connection can cause damage or injury. I have found that slowing down helps, although rushing is an easy mistake to repeat. This guide also recognizes that every room, body, and budget is different. Use the suggestions as a practical starting point, not a replacement for professional advice when equipment feels unstable.
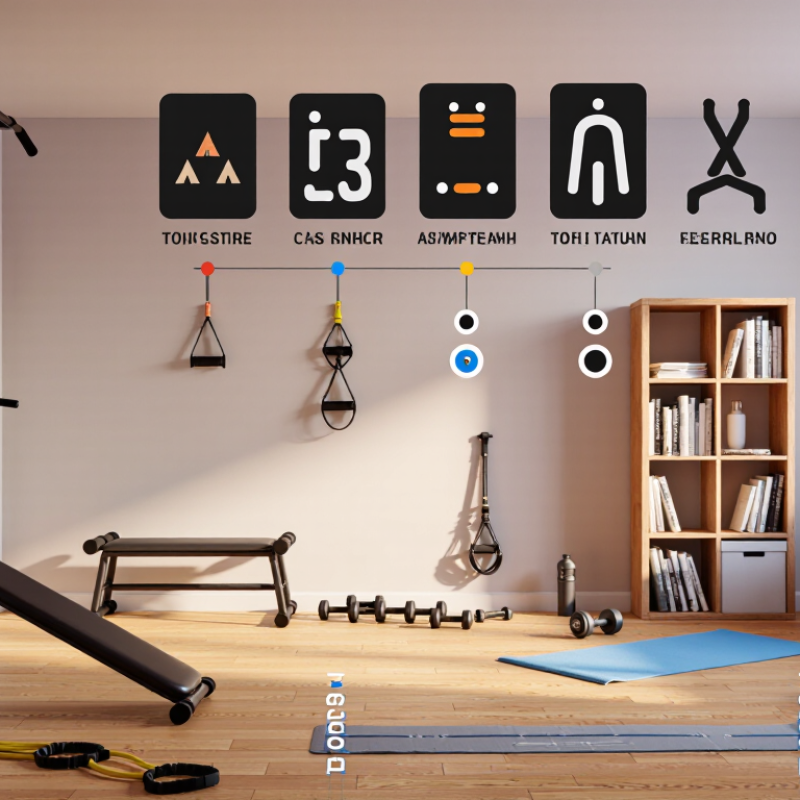
Assembling a home gym alone begins with the room, not the equipment. Measure the floor, ceiling, doorway, and movement area. Follow the equipment’s required clearance. Leave enough space to step away safely. Keep doors, windows, and walkways unobstructed. A stable floor matters. Thick, soft mats can make some frames wobble. Check ventilation and lighting before carrying anything inside.
Choose equipment designed for tool-free assembly. Read the instructions completely, then place every part on the floor. Check the load rating, adjustment points, locking pins, and moving joints. Never force a connection. If a part needs a tool, do not replace it with an unsuitable household item. Hand-tighten knobs firmly, and confirm each pin passes fully through its hole. Small gaps can become serious movement later.
Assemble one section at a time. Keep heavy parts low until the frame is stable. Test the equipment without added weight. Then apply light pressure from different directions. I once missed a loose adjustment pin because the frame looked level. It was not a major failure, but it changed my inspection routine. Keep children and pets outside the work area. Wear closed shoes, secure loose clothing, and stop immediately if the structure shifts, bends, or makes an unusual sound. Safety checks take longer alone. They are still necessary.
A home gym can be assembled alone when the equipment is designed for hand-tightening and simple locking. Choose frames with push pins, adjustable knobs, and preassembled cables. Avoid products that require drilling, special keys, or permanent wall fixing. Before opening the box, clear a dry area and place a blanket under metal parts. This prevents scratches and keeps small pieces visible.
Tip: Read every instruction page before connecting anything. Check the parts list, weight limit, adjustment points, and warning labels. Match each pin with its correct hole. Do not force a part that feels misaligned. I once skipped one diagram and attached a support backward. It looked acceptable, but the seat moved unevenly. That small mistake changed my view of “easy assembly.”
Tip: Test stability before exercising. Press the frame gently from several directions. Lock every knob and confirm that safety pins pass completely through the frame. Keep the machine on a level floor, with enough space for moving arms and cables. Follow the recommended user weight and exercise limits. Tool-free does not mean maintenance-free. Inspect connections after the first few sessions, especially if the frame shifts or makes unusual sounds. If instructions seem unclear, stop and contact the manufacturer’s support team instead of guessing. My setup took longer than expected, but rushing would have created a less reliable workout space.
Prepare every part before touching the frame. Open the carton on a clean floor, then compare bolts, pins, cables, pads, and labels with the instruction sheet. Parts first. Keep it simple. Place small hardware in separate cups, even if the manual shows identical pieces. They may differ by thread length. I once mixed two nearly identical pins and had to undo half the frame. That mistake matters.
Leave at least 60 centimeters of clear space around the assembly area. This gives you room to rotate long bars without striking walls, shelves, or windows. Keep children, pets, and loose clothing away from the floor. The World Health Organization’s 2020 guidelines recommend muscle-strengthening activity on at least two days weekly, so a home gym may receive regular use. A stable setup area supports that routine.
Arrange heavy components near the final position. Carrying them twice increases strain and scratches flooring. Place a folded blanket beneath metal sections, but never hide warning labels or inspection points. The International Health, Racquet & Sportsclub Association reported about 184 million fitness facility memberships worldwide in 2022, reflecting strong demand for structured exercise spaces. Home users deserve the same preparation discipline. Check that every hole aligns before hand-tightening. Do not force a mismatched part. I sometimes rush this stage. It saves minutes, then costs much longer.
Assembling a home gym alone feels easier when every step has a clear place. Choose a flat, open floor and keep children and pets away. Unpack each part carefully. Match the pieces with the instruction drawings before connecting anything. A small bowl can hold caps, pins, and protective covers.
Tip 1: Check the hardware first. Tool-free equipment usually uses locking pins, hand knobs, or slide-in joints. Do not force a connection. If a part resists, turn it around and compare the diagram again. I once underestimated how much floor space a frame needed. Measure twice.
Tip 2: Follow the assembly order exactly. Build the base before adding handles, seats, or resistance parts. Insert each pin fully, then tighten every knob by hand. The frame should feel firm, not squeezed. Tip 3: Test each section slowly. Push the frame gently from different sides. Adjust loose joints before adding weight. Sit on the bench carefully and check for rocking. Never use exercise equipment if a pin is missing or a joint looks uneven.
Keep the instruction sheet nearby during the process. Take a short break if your attention drops; rushed assembly creates avoidable mistakes. If the equipment requires a tool, has damaged parts, or does not match the guide, stop and contact the manufacturer for verified instructions. Safety matters more than finishing quickly.
After assembling your home gym, inspect every connection before exercising. Check frames, pins, cables, hinges, and rubber feet. Look for gaps, tilted surfaces, or cracked plastic. The American College of Sports Medicine’s 2024 Worldwide Survey identifies strength training as a leading fitness trend. That popularity makes setup quality especially important.
Test the equipment with empty resistance first. Move each handle slowly through its full range. Then apply a light load, about 25% of your planned training weight. Listen for clicking, scraping, or sudden movement. Stop immediately if the base shifts. The World Health Organization recommends muscle-strengthening activity on at least two days weekly, but frequency does not excuse careless testing. Keep children and loose clothing away during checks. Small details matter.
Adjust the setup around your body, not the other way around. Set handles near joint level, align your knees with the machine’s pivot, and keep both feet stable. Recheck the equipment after your first three sessions. Vibration can loosen fittings. I once focused on the frame and missed a slightly uneven floor. That was careless. A thin, stable leveling pad corrected the wobble. Record each adjustment in a notebook, including load, noise, and discomfort. The National Safety Council’s Injury Facts continues to emphasize preventable risks in recreational activity. Pain is not a calibration signal. Stop and reassess.
Choose frames with push pins, adjustable knobs, and preassembled cables. Avoid drilling, special keys, or permanent wall fixing. Tool-free does not mean maintenance-free.
Clear a dry, level floor before opening the box. Leave at least 60 centimeters around the equipment. Keep children, pets, and loose clothing away.
Place a folded blanket under metal sections. It helps prevent scratches and keeps small parts visible. Do not cover warning labels or inspection points.
Compare every bolt, pin, cable, pad, and label with the instruction sheet. Use separate cups for small hardware. Parts may look identical but have different thread lengths.
Read every instruction page first. Check the parts list, weight limit, adjustment points, and warning labels. Match each pin with its correct hole.
Stop and inspect the connection. Never force a mismatched part. I once attached a support backward, and the seat moved unevenly.
Press the frame gently from several directions. Lock every knob and confirm that safety pins pass completely through the frame. Test it gently.
Check connections after the first few sessions. Inspect sooner if the frame shifts or makes unusual sounds. If instructions remain unclear, stop and ask the manufacturer’s support team.
How to assemble a home gym alone when you have no tools starts with careful planning. First, measure the available space and confirm that the floor is stable, level, and clear of obstacles. Review the equipment’s size, weight, safety requirements, and recommended placement before beginning. Choose tool-free equipment with simple locking, folding, or hand-tightening systems, and read all instructions carefully. Lay out every part in an organized assembly area, grouping similar pieces together and checking them against the included parts list.
Follow the instructions step by step without rushing or forcing any connection. Use only the built-in fasteners and hand-operated adjustments intended for the equipment. Once assembled, inspect every joint, pin, hinge, strap, and support point. Test the setup gradually with light pressure, adjust its position or height as needed, and make sure it remains stable during movement. Regularly recheck connections and keep the surrounding area clean to support safe, comfortable workouts.

ProGear Sport